Thursday, October 11, 2012

oooh, yum! Apple Pie Bars!

Yesterday, I was given some apples.  Paula Red apple to be exact and they were yummy!  Crisp, sweet and juicy.  I have been craving a favorite fall recipe of mine for awhile now and finally I could make it! 

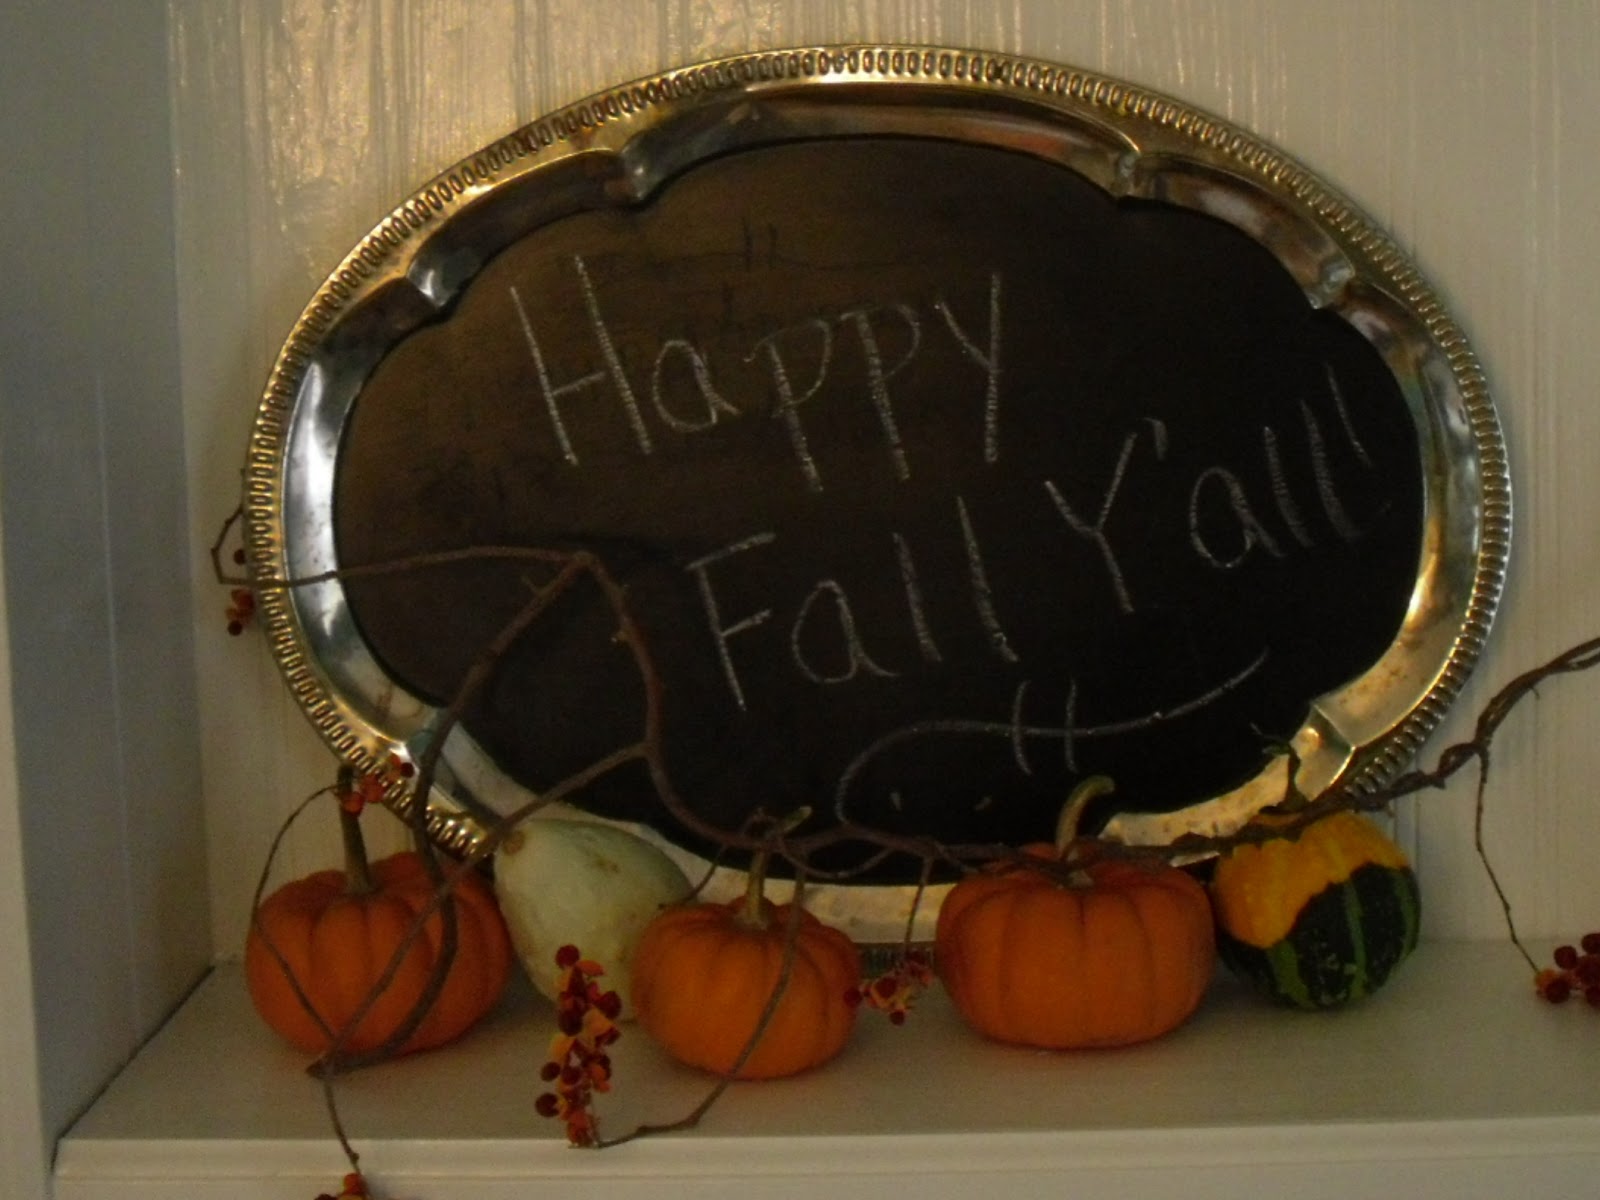
Apple Pie Bars!  They make a bar pan full, so feel free to share with friends, or eat a whole row yourself...oops! :)  Hey I was hungry, it was right before supper and... well um they tasted good, maybe too good because I'm thinking another row for breakfast would be pretty amazing!


just before the top crust is put on. Yummmm!


Here is the recipe I know you just can't wait to make these!
Apple Pie Bars
3 3/4 cups flour
1 1/2 cups butter
1 1/2 tsp salt
2 egg yolks with milk to make 1 cup. (save those egg whites for later in the recipe)

Mix all these ingredients into a ball and divide in half.  Roll our half in bottom of bar pan.

Peel/ Slice 6-8 apples (I always do at least 8)
add 1 cup sugar or more to taste (brown sugar is best!)
1/3 cup flour ( if you forget to add this like I did, oops, they still turn out delish, maybe a tad runny...haha! )
1-2 tsp cinnamon

Mix apples and sugar and cinnamon and then pour onto crust.
Dot with butter
Roll our second half of crust and put on top.  Pinch sides all around.  Brush top with egg whites that you've fluffed with a fork.  Poke holes in crust.
Bake at 425 for 10 minutes
then 375 for 20-30 minutes.

After it's done, mix some powdered sugar and milk until you get a somewhat thick consitency and drizzle over bars!

Then just try to resist waiting until they are somewhat cool so you don't burn your mouth.

These are so good and so worth making!
 
For some reason it won't let me make this picture bigger, but even this size  is making me hungry! I think it's time to go eat some more before my kids finish them off, they are that good!


Tuesday, October 9, 2012

Yummy Soup for a Cool, Brisk, Fall Day!

Today the sun is shining, but it's really quite deceiving.  When you step outside, the weather is brisk, the wind is blowing and it's really a great day to stay inside and enjoy some warm, cozy foods like soup! 

Quite a few years ago, a friend gave me a simple, inexpensive recipe for soup that I have used over and over.  It has also been a much requested recipe as well.

Potato Leek Soup
3-4 Leeks - Cut the ends of and the greens.  Slice the leeks down the middle and then run them under water to clean out all of the dirt that likes to hide in the layers. Then chop them up somewhat fine.
1 Stick of butter
5-10lbs of potatoes depending on your family size. Peeled and cut into chunks (not overally large)
Water
salt and pepper to taste- salt is really key to this recipe being yummy!

Melt the butter in your stockpot.  Add the leeks and cook until they are limp.  Add potatoes, salt and pepper  and just cover them with water.  Cook until potatoes are done.  Then either with a blender, or one of those nifty hand blenders, mix the soup until desired consistency.  (We like ours to have some chunks of potatoes left, but not too many as the more you blend the thicker your soup.)  After you have done this add more salt and pepper to taste. Enjoy!

What I love about this soup, is that today when I made it, I didn't have any leeks, so instead I used a nice sized onion and it tasted just as good! 

 
So warm and filling on a cool, fall day!

Friday, October 5, 2012

Love everything about Fall!


There's just something about Fall that I love!  Maybe it's the cooler weather or maybe it's the leaves changing color and crunching under your feet, could be that bonfires are just so much more fun in Fall, or the fact that I absolutely adore anything made with pumpkin, or apples or cider.... on and on it goes. 

My love affair with Fall started when I was a little girl, and my mom would begin to decorate our house with leaves from outside, pinecones and a few pumpkins tucked here and there.  The house began to smell heavenly each day as a pot of chicken soup, or some fresh baked cookies were sitting on the stove waiting for little hands to enjoy! 

Now it's my girls who look forward to Fall.  Each claiming it to be their favorite season!  We all love to decorate our house and have done so since they were quite little.  This year, I added a project into the decorating mix.  Unfortunately, I did not get any pictures of it along the way, but I know there are tutorials out there on how to do this.

First I found an old suitcase, (one of the benefits of my mom owning a home decor shop) then we ripped out the lining inside it and my dear husband cut it in half the long way.  We then added some wood on the sides and attached picture hanger....And your ready to hang!


Enjoy these lovely Fall days before all too soon they are gone and winter sets in!

Wednesday, August 15, 2012

Whew! Been so busy! But finally a project!

Life has been so busy these past few weeks!  The three older girls went to camp for a week, then when they came back our youngest went and the rest of us had Teen Time every night for the week.  Then we had a surprise party to attend, and then we left for a week of vacation.  So much fun, but not much time for projects. 

Finally I was able to work on something yesterday, and I love how it turned out!  Of course, my camera stinks so you don't really see how great it looks, but oh well!

Awhile back I bought a cute end table for $4.95.  It looked like this:


One of our cats decided that this was a nice place to get out of the sun! 

I kept trying to decide what color to paint this, but finally decided on a teal that I had left over from a previous project... I do so love teal!


I also used some leftover stain and worked quickly painting an area with the stain, and then wiping it off.  I love the effect that gives.  I went ahead and dry brushed some white onto the handles and wahla!  Finished in just a few hours! 

I really love when projects only cost $4.95 and add a splash of color to a room! 


Thursday, July 26, 2012

Busy Summer, but easy project!

Whew!  It has been awhile since I've been on here.  Summer is always such a busy time at our house and this year has been no exception!  Girls coming and going from camp, teen time at our church for a week, camping, wakeboarding, swimming....anyway, I tend to neglect the internet when I get busy. 

The great thing is I did find some time to do a fun easy project that I just love with some old barn board.  The idea was inspired by a friend on Facebook who did something similar.

We don't really have barn board laying around, but we do have an old horse shed that has a barn door. 

After sizing the door up, I asked my husband if I could take a board off the door, since the building is really no good anyway. 
So I pried a board off with the help of my husband (who wishes I would stop getting so many ideas:) )
I had to take out ALOT of nails!! And then I was ready to start.


I used an old cereal box to cut out the letters and then traced them onto my board!  After I cut them out then I spray painted a bunch of frames to hang on the wall along with my letters.
Of course I had to use my favorite color spray paint!


And here is everything put up on the wall!  As I take pictures, I will add them into the frames, but for now I like the look!  It sure was better than a blank wall!


Since this was so much fun, I went ahead right away and made another set of letters and added those in the kitchen!  Of course my junky camera never makes things look as good as they do in real life, but you get the idea!


Wednesday, July 4, 2012

Happy 4th

Today we are being lazy and just hanging out as a family!  Something that rarely happens anymore with the girls being older and busier!  Tonight we will get together with a bunch of friends, play some games, eat great food and watch the fireworks. 
I've made my potato salad, cut up a watermelon and made sugar cookies.  These sugar cookies are so yummy that I just had to share them with you!

I made some star ones too, but they turned out kinda wanky, all crooked and goofy looking.


Here's the recipe:

2 cups butter
3 cups sugar
6 eggs
2 teaspoons vanilla
7 cups flour
4 teaspoons cream of tartar
2 teaspoons baking soda
1 teaspoon salt

Cream butter, sugar, eggs and vanilla.  Add cream of tartar, soda and salt.  Gradually add flour.  Take half of the dough out.  If it is a bit sticky, add a bit more flour.  Roll the dough so it is thick.  Use cookie cutters to cut out.  Bake at 350 for about 10 minutes.  Makes about 5 dozen.  Don't let the cookies brown!

Frosting:
4 cups powdered sugar
1/2 cup shortening
5 tablespoons milk
1 teaspoon clear vanilla ( I just use regular)
In a large bowl, cream together the powdered sugar and shortening until smooth.  Gradually mix in the milk and vanilla with an electric mixer until smooth and stiff, about 5 minutes.  Add food coloring if desired.

These cookies are so soft and delish!  Oh and they are so healthy and good for you...well maybe not that, but they sure are worth splurging on!

Happy 4th of July! 

I'm off to go swim with the family in the pool!

Linked up Feasting in Fellowship linky party at Comfy in the Kitchen

Tuesday, July 3, 2012

Ice Cream for Breakfast!

The past three weeks, my oldest three daughters have been weed picking for an organic farmer, starting at 6am-noon.  While they are gone, I have used the time to keep up on my own garden, along with catch up on some house cleaning. 

Emma however has been feeling a little left out and bored.  She is so used to having one of her other sisters  around, that she doesn't quite know what to do with her time.  I decided to surprise her today with a breakfast treat! 


Raspberry Coconut Milk Ice Cream

Recipe for Ice Cream

We try not to eat a lot of refined sugar, so this recipe uses honey.  I thought it turned out pretty good, but I do like my ice cream a tad bit sweeter.  We added some fresh sliced bananas on top with a sprinkle of raw sugar.


Perfect treat for a HOT morning of weeding the garden! 

Wednesday, June 27, 2012

Oh the many uses of silverware!

My husband and I have been making these spoon flowers/spoon fork flowers this summer and they are selling like crazy at my mom's shop.  Because of their success and my love for them, we are going to be listing them in Etsy.  So pass the word along, and watch for them.  They make great gifts!

This was taken in the Spring before the flower beds were cleaned up!


The perfect flower, since they don't need to be watered!  You can go on vacation and they will still be looking great when you get back!
If you are interested in them, feel free to contact me!

Wednesday, June 20, 2012

Groop Dealz Chance to Win Nikon D3100!

Wow! You all need to go check out how to enter to win this awesome looking camera! 

Here is the link that takes you to there facebook page!  Go on check it out!

https://www.facebook.com/groopdealz/app_228910107186452

Tuesday, June 19, 2012

Tomato cage turned bird cage...


My second daughter loves birds!  More often than not, you can find her outside with a field guide in one hand and her binoculars in the other!  As we spend time together outside, she will suddenly stop and cock her head obviously hearing something.  Amazingly, most times she is able to tell me just which bird she heard! 

This past month our Abbie turned 14 and what type of birthday did she desire?  You guessed it, a bird themed birthday!  Well, I kept garage saling and thrifting hoping to find the perfect bird cage to use for a table center piece... finally the morning of her birthday, I realized I still didn't have one.  So on to scrounging around to find the perfect cage!  After searching for quite awhile, I realized that if I could snip the top off of a tomato cage, and bend the ends together, I could have a make do cage! I wrapped different colored pieces of material around it to give it a shabby chic look and it turned out great!  Abbie loved it and wants it in her room!


I love to repurpose items! How about you?  Anything you've repurposed lately?

Monday, June 18, 2012

Chalkboard Paint


Things have been so busy here.  Summer is in full swing and with it comes a myraid of activity!  I did however have some time to do a project that I've been wanting to try for awhile.  I love, love, love chalkboard paint!  So for this project, I took apart our globe that's just been sitting around collecting dust.  First I sprayed painted the stand part of it, and then I used chalkboard paint and painted the globe!  I really like the finished look! Sorry about the glare, guess that's what happens when your camera is not so great!

Tuesday, June 12, 2012

My first post!

Well, I finally have taken a step and started a blog.  Many years ago, I had a blog where I communicated mostly about our homeschooling journey.  Now, my girls are getting older and my hobbies are getting larger and I've realized I need a place to focus on things I have repurposed or made.  After much urging and prompting from a few friends, I decided to once again enter the blogging world. 

My desire is for this blog to be a place of encouragement and inspiration with a few yummy recipes sprinkled in between!  Often I will be sharing something that I have made, with directions on how to make it.  Other times, I will be sharing something that I have made with an opportunity for you to buy.
Thanks for stopping by and I hope to see you again!